


I did this ornament for my friend. This was a photo of the family in a living room. Now they're outside among Christmas trees and snow!

I used 110mm Clear Acrylic Fillable Ball Ornaments.
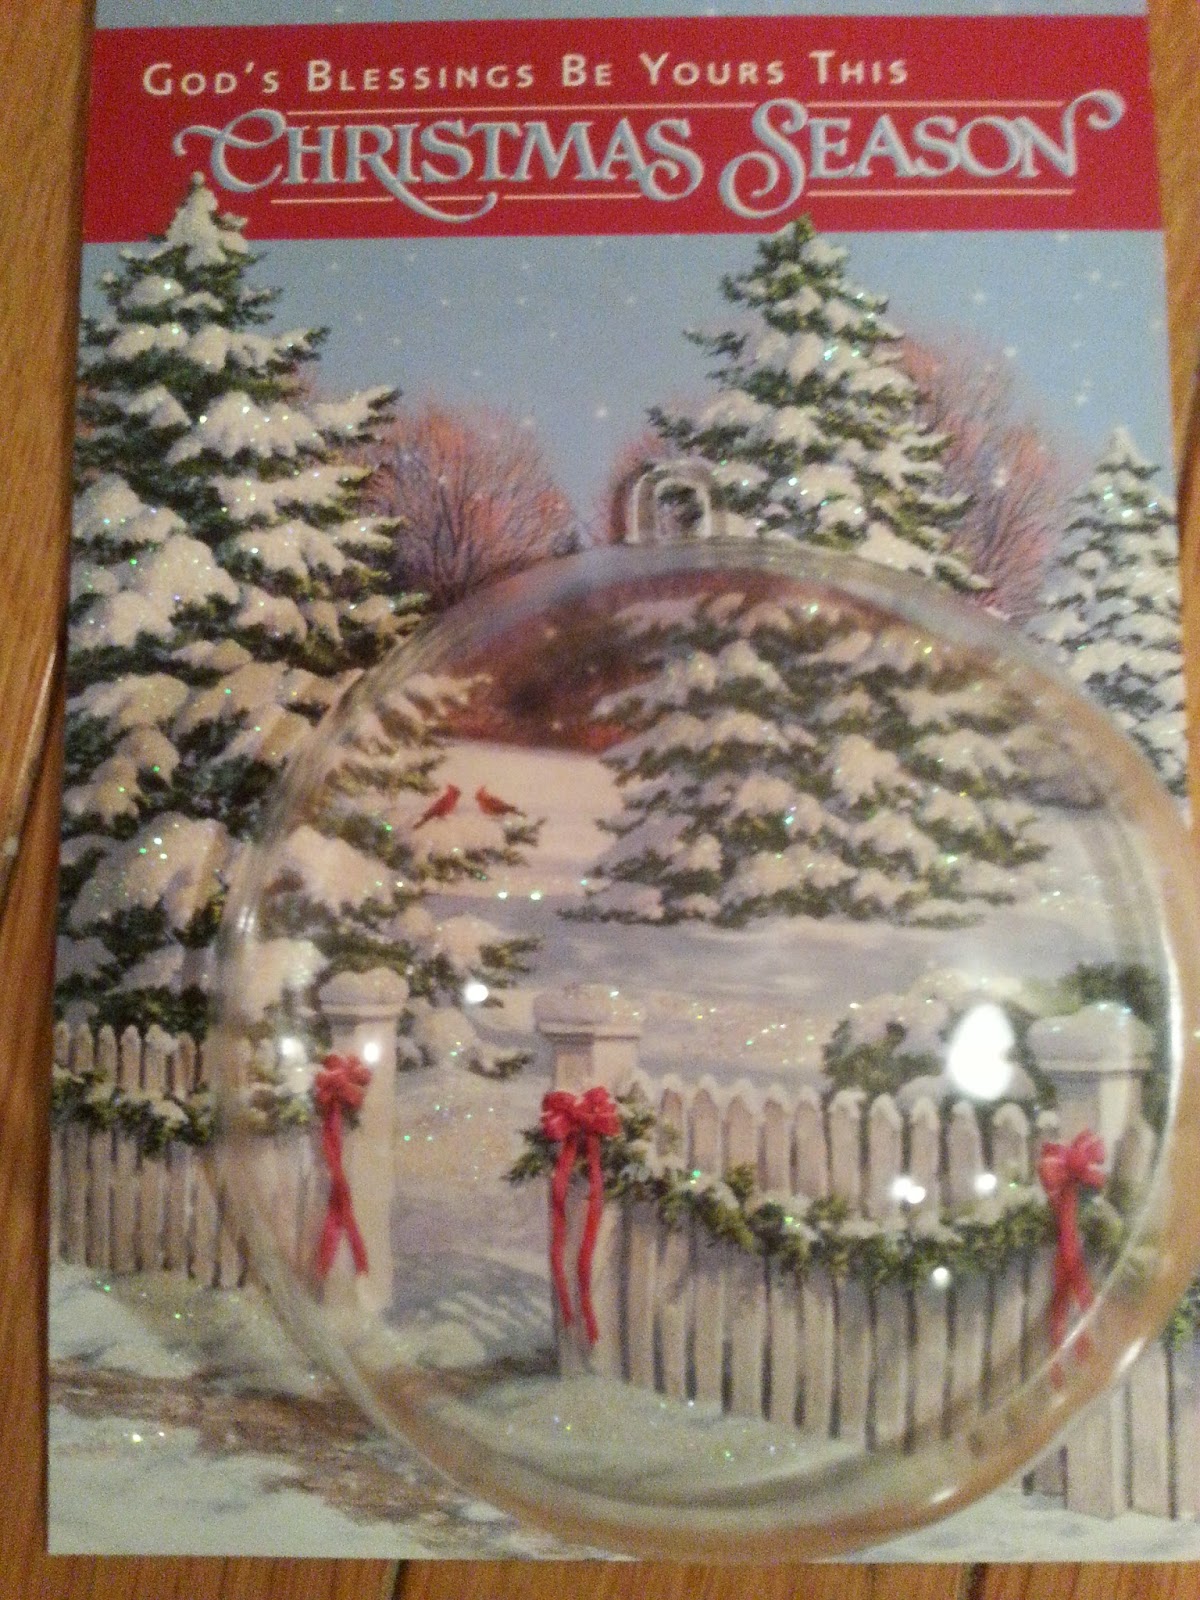
You'll then want to pick out a Christmas Card.

I traced the half ball on the Christmas Card.
You'll have to keep trimming and testing to fit. You'll have to decide what you'll have for the back of the ornament too. It could just be the same card or something else. I then glued the cards on both sides with Aleene's Tacky Glue. Be sure they match up horizontally. Then start decorating and placement of your photos. You'll have 2 of the photos, one on the bottom and one with Foam Adhesive squares to place underneath for the 3D effect.
 Once you have your photos placed, use Aleene's True Snow from Michaels. There are other brands you can use too. I added the snow to the picture with a brush and toothpick...it's kind of hard to apply. I then "painted" snow up from the bottom of the ball to maybe a 1/2 inch and on the sides before I put the card in side. I wanted it to look like little hills and piles of snow.
Put Aleene's Tacky Glue on the edges of the cardboard or card and carefully glue to the half ball with the lip inside. Before closing sprinkle the Opalescent confetti.
I used gold ribbon and glued along the seam of the acrylic ball. I used hot glue to tack at the top on either side of the hanger so the Tacky Glue could dry.
To do the flower at the top, I put in the wire hanger first. I took the leaves off an artificial flower, removed the plastic and slightly it. I then glued the flowers on either side of the hanger with Aleenes Tacky Glue and hot glue.
(I learned this tip from Heidi Borchers: Hot glue with temperature changes can sometimes release but the Aleene's Tacky Glue lasts.)


Here's the same card now with my friend's children. I cut out the fence from the card and used it as a focal point. You can see the dimension as I cut out the ribbons, added snow and opalescent confetti. You can also see the raised photo by using the Foam Adhesive.


There are so many inexpensive holiday cards now that are just beautiful that you can make amazing ornaments with!
I'd love to know how your's come out!
Let me know by posting below!
Don't forget to share. :)
Make it a great day!
Check out other ornament ideas here!

Well I tried to make one. Got the ornament at Michaels and some pretty cards in the dollar stores. It was so much fun! Thank you for the tips using the adhesive squares. I found them at Michaels. It really makes it look 3D! Thanks for posting and can't wait to see more! Elizabeth
ReplyDelete